Native Camera
- 4.1
- Rating
- 100.00K
- Installs
- Free
- Price
 Analysis by App-foxy
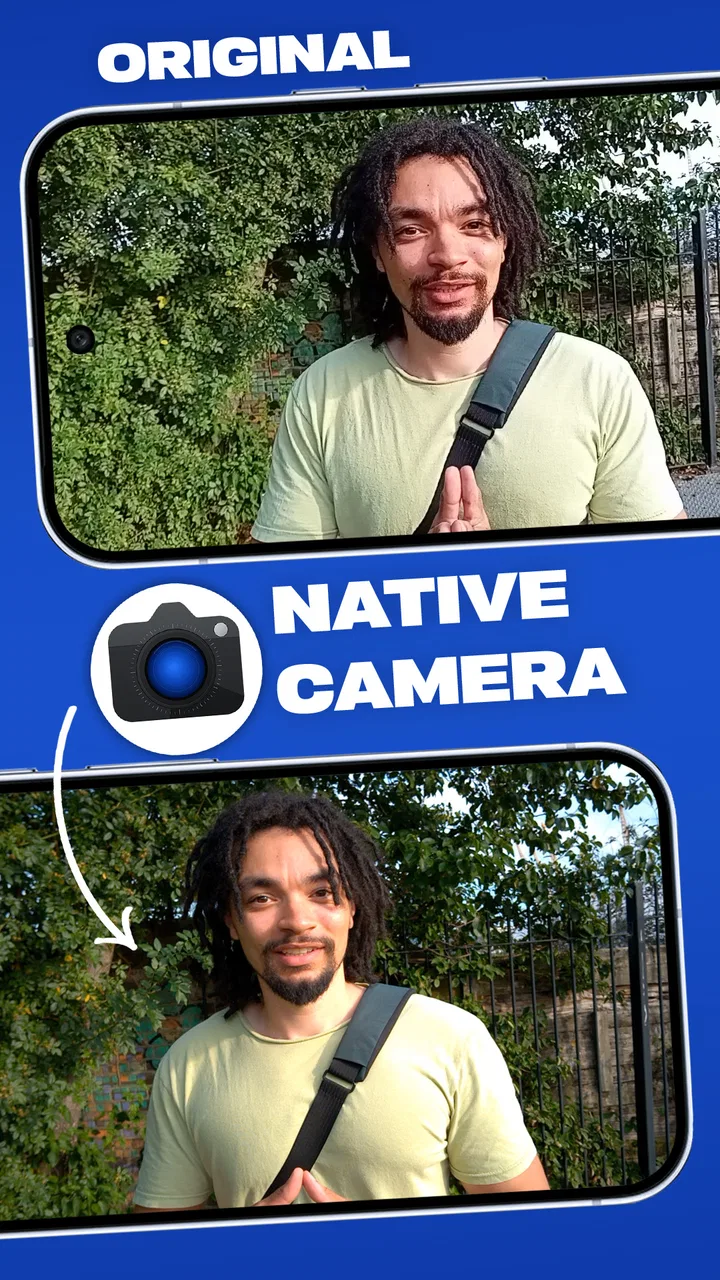
I approached Native Camera as the kind of photography app you open when the standard camera feels too limited. Its purpose is straightforward: give you more direct access to the camera already built into your device, rather than turning photography into a social feed or a heavy editing project. That makes it appealing for people who want to take control before pressing the shutter, but it also means the experience depends heavily on the phone, its operating system, and the way the app is configured.
In my experience, the most important question is not whether this is a free camera app. It is whether you want a more hands-on shooting process. If you usually point, tap, and accept the phone’s automatic result, the default camera may remain quicker. If you often feel that your phone is making too many decisions for you, N8 Media’s approach is more interesting. The app sits in the photography category, is free to install, and is rated for Everyone, so it is easy to try without committing money at the start.
The current release is version 1.3.02, and the app requires Android 8.0 or later. It has passed the early discovery stage with over ten thousand installs, while its average rating is four out of five from roughly seven hundred ratings. Those figures suggest a useful but still relatively focused tool rather than an unavoidable replacement for every phone camera. I would recommend treating it as a practical alternative camera, not as a promise that every device will suddenly behave like dedicated photographic hardware.
You May Also Like

 Blood Strike: 2.5 Anniversary
Blood Strike’s Loadouts Turn Every Drop Into a Tactical Gamble
A close look at Blood Strike’s custom loadouts: how fast access to signature weapons reshapes its battle royale rhythm, rewards preparation, and narrows the gap between fights.

 Pandora - Music & Podcasts
Pandora’s Music Is Easy to Start, but Harder to Recover
Pandora’s strength is its low-effort path from a seed to a station. Its weak spot is how much confidence it asks you to place in connection, setup, and quiet recovery.

 8 Ball Pool
 Is Built on Rivalries, Rematches, and Routine
A close look at the rivalries, rematches, shared routines, and unanswered safety questions that turn a quick pool match into a persistent mobile community.
 Samsung Music
’s Quiet Strength Is Playing What You Already Own
Its reach comes less from spectacle than from dependable access to a personal library. That simplicity is both the app’s strongest retention engine and its ceiling.

 AccuWeather: Weather Radar
AccuWeather Review: A Quick, Clear Forecast for Everyday Decisions
For everyday plans, the best forecast is the one you can understand quickly. AccuWeather makes rain timing, radar, and local conditions easy to act on, with a few trade-offs.

 Hill Climb Racing
Why Hill Climb Racing Still Turns Crashes Into One More Run
A tiny car, a bumpy hill and one more upgrade: Hill Climb Racing keeps resurfacing because its simple chaos makes every near-miss feel personal.
More From Our News Desk
View All News


Where people usually get stuck before taking a photo
The first point of friction is expectation. A camera app can expose capabilities that the phone supports, but it cannot create hardware that is not present. A device with a basic lens, limited low-light performance, or restricted manufacturer controls will still have those limits when Native Camera is open. The app may give you a clearer way to work with the available camera, but the final image remains tied to the phone in your hand.
That distinction matters when comparing it with the camera already installed by the manufacturer. The built-in option often has the advantage of knowing exactly which lenses, image-processing routines, and device-specific controls are available. It may also open faster from the lock screen. Native Camera becomes more valuable when you prefer direct control and a less manufacturer-specific shooting experience. It is less convincing when your phone’s default camera already offers the controls you need with fewer steps.
Another common sticking point is assuming that a camera app should behave identically on every Android device. Android 8.0 is the minimum operating system, but that does not make every compatible phone equal. Camera access can vary by model, lens, system software, and manufacturer implementation. A control that works smoothly on one phone may be unavailable, behave differently, or require a different workflow on another. I would judge the app after testing it with your actual device, not from another person’s screenshots.
The app’s free entry point is helpful here. You can explore whether it fits your phone before deciding whether it deserves a permanent place on your home screen. There are in-app purchases ranging from $9.99 to $49.99 per item, so I would avoid paying for anything until the basic camera experience feels reliable on your device. The sensible test is not one impressive photo; it is several ordinary situations, such as a quick indoor shot, a bright outdoor scene, and a moment when you need to react quickly.
What I check during the first few minutes
I begin by opening the app in a calm setting rather than trying it for the first time during an important event. I make sure the camera view appears, switch through any available shooting controls, and take a test image that I can inspect immediately. This reveals more than browsing the interface. It tells me whether the preview feels responsive, whether the shutter action matches my timing, and whether the saved result appears where I expect it.
I also pay attention to how much interaction is needed before a photo can be taken. A control-heavy camera can be useful when I have time to compose, but inconvenient when a child, pet, or moving subject gives me only a second. My practical rule is to prepare the settings before the moment arrives. If I need to hunt through controls while the subject is moving, the app’s extra access becomes a disadvantage rather than an advantage.
For people who mainly photograph documents, meals, pets, or family occasions, this preparation is especially useful. Set up the app at home, take a few harmless test pictures, and learn which controls you can ignore. You do not need to understand every option to benefit from a more direct camera. In fact, trying to adjust everything at once is one of the fastest ways to make the app feel harder than it needs to be.
Setup checks that prevent avoidable frustration
A clean first setup is more valuable than immediately changing every available option. I would start with the phone’s camera access settings and confirm that Native Camera is allowed to use the camera. If the preview is blank, freezes, or closes, I would first close other apps that might be using the camera, reopen the app, and test again. These are simple checks, but they separate an app-level problem from a temporary system conflict.
Next, I would check storage space. A camera may appear ready while the phone has too little room to save new images. If a picture seems to disappear after the shutter is pressed, I would inspect the gallery and available storage before assuming the capture failed. I would also restart the phone if the camera behaves inconsistently. A restart is not a sophisticated fix, but it often clears a temporary camera-service problem without changing the app’s settings.
Lighting is another setup issue that can be mistaken for poor app performance. I test the camera in good daylight before judging image quality. If the result looks acceptable outdoors but soft, noisy, or slow indoors, the limitation may be the phone’s sensor and processing rather than the application. This is particularly important for users comparing the app with a manufacturer camera that applies aggressive automatic brightening or sharpening.
I would also keep the phone steady for the first comparison. A camera with more direct controls can make you aware of movement that automatic processing previously hid. Place the phone on a stable surface, photograph the same subject with the default camera and Native Camera, and compare the files at the same size. Looking only at a thumbnail can make two very different results seem identical, while zooming too far can exaggerate differences that do not matter in normal use.
A sensible way to learn the controls
My preferred method is to change one setting at a time and repeat the same shot. I take a reference image, change one control, and photograph the subject again. This creates a small personal guide to how the app behaves on my phone. It is more reliable than copying a recommended setup from another device because camera hardware and system processing differ.
I would also create a quick-use routine. Before an outing, I choose the camera view I expect to use, confirm that the phone has enough space, and take one test shot. During the outing, I leave the controls alone unless the light or subject changes enough to justify adjustment. This keeps the app’s flexibility from becoming a distraction. The goal is not to operate a camera like a technician; it is to make deliberate choices without missing the picture.
Users should be careful with purchases during this stage. Since the app can be tried for free and paid items may cost from $9.99 up to $49.99 each, I would first establish that the core workflow suits my device. A paid option is only worthwhile if it solves a problem I actually encounter. Buying in advance because a feature sounds useful is risky when compatibility and personal shooting habits matter so much.
Recovering a workflow when something goes wrong
When a photo does not appear as expected, I work through the problem in a fixed order. First I check whether the camera preview was active and whether the shutter visibly responded. Then I look in the phone’s gallery and confirm that I am checking the correct recent location. After that I check storage, close competing camera or gallery apps, and reopen Native Camera. This sequence prevents me from changing several things at once and losing track of what helped.
If the app stops responding, I force-close it through the normal Android app controls and launch it again. If the problem continues, I restart the phone. I would only consider clearing app data after making sure I understand what might be removed, because resetting an app can erase local preferences or require setup again. The safest general approach is to preserve any important photographs first and make one change at a time.
A useful recovery habit is carrying a backup plan for important moments. If I am photographing something that cannot be repeated, I keep the phone’s usual camera available rather than relying on an unfamiliar setup. That is not a criticism of Native Camera; it is good photographic practice. A flexible camera app is worth learning gradually, while a once-only event deserves a dependable fallback.
For everyday use, I would separate capture from editing. I take the picture first, verify that it saved, and only then decide whether it needs cropping or another adjustment in a separate tool. This reduces the chance of confusing a camera problem with a gallery or editing problem. It also makes it easier to compare the app fairly with the phone’s default camera, because both are being judged on capture rather than on unrelated post-processing.
When a result looks worse than expected
Blur is usually the first thing I investigate. I check whether the subject moved, whether my hands moved, and whether the scene was darker than it appeared on the screen. A brighter preview does not always mean a faster capture. If the subject is moving, I prefer a simple, quick setup over spending time adjusting controls. For a still object, I can slow down, stabilize the phone, and repeat the shot.
Unexpected color can come from the lighting itself. Indoor bulbs, mixed daylight, and reflective surfaces can make a scene look different from what my eyes perceive. I compare the result under consistent light before concluding that the app is mishandling color. Similarly, a dark image may be an exposure choice, a sensor limitation, or a scene with strong contrast. Testing a plain, evenly lit subject gives a clearer answer than judging a difficult night scene.
If the app works but the saved image seems to have the wrong orientation or location, I first verify the phone’s gallery behavior and image details. Different gallery applications can display or organize photographs differently. Keeping the troubleshooting path simple helps: confirm the file exists, inspect it in another viewer if needed, and only then revisit camera settings. This is especially useful for users who move images between editing apps or cloud services.
When the app is not the cause
Some frustrations belong to the phone rather than the camera application. A scratched lens cover, a dirty lens, a nearly full storage drive, overheating, or a battery-saving mode can affect the experience. I wipe the lens with a soft cloth, remove anything covering the camera area, and let an overheated device cool before testing again. These checks are easy and can prevent an unnecessary uninstall.
Hardware switching can also complicate expectations. A phone may have several rear cameras, but access to them is controlled by the device and its Android implementation. If a particular lens is missing or behaves differently, that does not automatically mean the app is broken. I compare the same lens and framing in the default camera first. If both apps show the same limitation, the phone is the more likely explanation.
System updates can change camera behavior too. If a problem begins after an Android update, I would restart the device, check whether other camera apps show the same behavior, and avoid assuming that reinstalling Native Camera will solve it. Conversely, if only this app has the problem while the default camera works normally, reinstalling or checking for an available app update becomes more reasonable. The key is comparison rather than guesswork.
This is where the app’s minimum operating-system requirement deserves practical attention. Android 8.0 or later makes the app available to a broad range of devices, but older hardware may not deliver the same smoothness as a newer phone. Someone using an older handset should weigh the benefit of extra camera access against possible delays, limited lens support, or a less polished preview. The app can be suitable, but expectations should match the hardware’s age.
Who will appreciate it, and who should pass
I think Native Camera is best for Android users who want to explore their phone’s photographic controls without committing to a separate camera device. It suits deliberate photographers, people who compare camera behavior across apps, and anyone who feels constrained by an automatic interface. It can also be useful as a second camera option when the default app’s workflow does not match the way you like to shoot.
I would be more cautious recommending it to someone who wants instant results with no setup. If your priority is the fastest possible snapshot, portrait effects, built-in social sharing, or manufacturer-specific computational photography, the preinstalled camera may be better. The same is true for a person who rarely changes camera settings. Extra access has value only when you use it; otherwise, it can add decisions without improving the final photograph.
It is also not the right choice for someone expecting professional camera hardware from software alone. The app can help you work with what your phone offers, but it cannot replace a larger sensor, a better lens, or the specialized processing built into some flagship devices. I would choose it for control and experimentation, not as a guarantee of superior image quality in every scene.
My practical verdict after using it as a daily camera
Native Camera is a worthwhile free experiment for Android photographers who want a more direct relationship with their phone’s camera. I like the idea of having an alternative to the manufacturer’s interface, especially when I want to slow down and make a deliberate choice before taking a photograph. The app’s value comes from that extra access, not from pretending that every phone has identical capabilities.
The most important advice is to test it methodically. Confirm camera access, storage, gallery saving, and basic responsiveness before changing advanced settings or considering an in-app purchase. Compare it with the default camera in the same lighting, using the same subject and lens. If Native Camera gives you a workflow you prefer, it has earned a place on your phone. If it merely adds steps while producing results you like less, returning to the built-in option is the sensible decision.
N8 Media has made the app accessible to a broad Android audience, and its Everyone age rating makes it uncomplicated to recommend for general photography use. Still, a broad audience does not mean a universal fit. The app rewards patience, testing, and an interest in how a phone captures images. It is less suited to people who want a completely automatic experience.
My final view is positive but measured: Native Camera is most useful when control matters more than convenience. Try the free version with your own device, learn a small repeatable routine, and keep the standard camera available for moments where speed matters. If that balance works for you, this photography app can make an ordinary phone feel more flexible without asking you to change the way you take every picture.
FAQs for Native Camera
01What is Native Camera, and what can I use it for?
Native Camera is a photography and video app designed to provide quick access to your device’s built-in camera features. Depending on your phone or tablet, it may let you capture photos, record videos, switch between front and rear cameras, use the flash, zoom, and review recent shots. Its exact tools and appearance can vary according to your device model and operating system.
02Does Native Camera work on both Android and iOS devices?
Native Camera generally refers to the camera application included with a device or an app designed to work with a specific mobile platform. Before downloading, check whether the version is compatible with your Android or iOS device, as camera apps can require particular operating-system versions and hardware capabilities. Some features may also differ between manufacturers and phone models.
03What permissions does Native Camera require?
To function correctly, Native Camera normally needs permission to access the device camera and microphone, especially when recording video with sound. It may also request access to photos or storage so captured images can be saved and displayed in the gallery. Review each permission request carefully and allow only the access necessary for the features you intend to use.
04Does Native Camera include advanced photography features?
Native Camera usually concentrates on straightforward photo and video capture rather than offering the extensive manual controls found in professional camera apps. Basic options such as flash, timer, zoom, camera switching, and video recording may be available, while manual focus, RAW capture, exposure controls, filters, or specialized modes depend on the device and app version. Check the listed features before installing.
05Are photos and videos captured with Native Camera stored online?
In most cases, photos and videos captured through a native camera app are saved locally on your device, typically in the standard Photos or Gallery application. However, they may later be synchronized automatically if you use services such as Google Photos, iCloud, or another backup provider. Review your device’s privacy, gallery, and cloud-sync settings if you want to control where media is stored.
Pros
- Captures photos quickly with minimal delay after opening the app.
- Offers a familiar layout that is easy for most smartphone users to understand.
- Uses the phone’s built-in camera hardware without requiring extra accessories.
- Works well for casual snapshots
- documents
- and everyday video recording.
- Usually integrates smoothly with the device gallery and sharing options.
Cons
- Available controls and features depend heavily on the phone model.
- Low-light results can be limited without advanced manual adjustments.
- Some devices may show ads or manufacturer-specific interface elements.
- Video stabilization and recording quality vary between Android and iOS hardware.
- May lack creative filters and editing tools found in dedicated camera apps.

Native Camera
Gallery